It’s been ages since I had picked up any knitting, and I had a big bag of lovely yarn staring at me from my knitting basket on top of the piano. I just wasn’t inspired. It was just too hot in December to think about knitting.
When the cold weather hit at last, I remembered that I had really wanted to knit myself a pair of fingerless mitts. My hands get so cold when I am out doing the chores, but mittens – and even gloves – are clumsy or get splashed with water and then make my hands even colder. Sometimes I remember to wear something with pockets, but unfortunately my warmest clothes don’t have pockets (it’s hard to actually find good, practical warm clothes in Florida!).
When I had first started to knit about five years ago, I had tried out a cabled fingerless glove pattern – I only had enough yarn for one, because I had used some left-over yarn from another project, and I wasn’t good at eye-balling it yet. The one glove was heavenly – I would transfer it from hand to hand to share the warmth – and like all wool, it was warm even if it was wet. I kept thinking I would buy more yarn and knit the next one, but then that one got lost, and I never got around to another pair.
Until now….
I thought this would be a nice February knit. Knitting on it made me think of strawberries, raspberries and chocolate! I love the way the color rounds make little hearts. I hope you enjoy it also –
Size: I made these to fit my wrists. These are my measurements that I made the pattern around: 10.5 inches/27 cm near the elbow, 6.5 inches/ 16.5 cm at the wrist, 8 inches/20.5cm from bottom of cuff to wristbone. My palm is 8 inches/20cm around. The cuff is close-fitting (I made several early, floppier versions, and I think this version is just right). The garter stitch borders keep the cuff from curling annoyingly.
R52: YO row
R53: K all sts
R54: Colorwork Round #8 – *K1 in MC, K1 in CC #2* until end of round. Switch back to MC again for the next round.
R55: YO row
R56-57: K all sts
R58: YO row
R59: Decrease Round # 6 (last decrease) –
R60: Colorwork Round #9 – *K1 in MC, K1 in CC #3* until end of round. Switch back to MC again for the next round.
R61: YO row
R62-63: K all sts
R64: YO row
R65: K all sts
R66: Colorwork Round #10 – *K1 in MC, K1 in CC #1* until end of round. Switch back to MC again for the next round.
R67: YO row
R68-69: K all sts
R70: YO row
R71: K all sts
R72: Colorwork Round # 11 – *K1 in MC, K1 in CC #2* until end of round. Switch back to MC again for the next round.
R73: YO row
R74-75: K all sts
R76: YO row
R77: K all sts
R78: Colorwork Round #12 – *K1 in MC, K1 in CC #3* until end of round. Switch back to MC again for the next round.
R79: YO row
R80-81: K all sts
R82: YO row
R83: K all sts
R84: Colorwork Round # 13 – *K1 in MC, K1 in CC #1* until end of round. Switch back to MC again for the next round.
R85: YO row
R86-87: K all sts
R88: YO row
R89: K all sts
R90: Colorwork Round #14 – *K1 in MC, K1 in CC #2* until end of round. Switch back to MC again for the next round.
R91: YO row
R92-93: K all sts
R94: YO row
R95: K all sts
R96: Colorwork Round #15 – *K1 in MC, K1 in CC #3* until end of round. Switch back to MC again for the next round.
R97: YO row
R98: Cast-off for thumb –
N1: Cast off all sts, removing both markers as you go. Set N1 aside for now. You’ll need it again in a minute.
N2, N3 and N4: K all sts
R99: Shape thumb hole: Cast on 4 sts onto the needle that had been N1, place marker, cast on 2, place second marker, cast on 4 more sts. Now move on to N2, N3 and N4 – knitting all sts, of course.
R100: YO row – skip the YO on N1 for this round (I found it too tricky with the newly cast-on sts, however, if you are adept enough, YO here if you’d like. It does not stand out at all to skip this one, I should add.)
R101: K all sts
R102: Colorwork Round #16 – *K1 in MC, K1 in CC #1* until end of round. Switch back to MC again for the next round.
R103: YO row
R104-105: K all sts
R106: YO row
R107: K all sts
R108: Colorwork Round #17 – *K1 in MC, K1 in CC #2* until end of round. Switch back to MC again for the next round.
R109: YO row
R110-111: K all sts
R112: YO row
R113: K – remove all except the end-of-round marker.
R114: Decorative YO border: *YO, K2tog* until end.
R15: P all sts
R16: K all sts
R17: P all sts
R18: K all sts
R19: P all sts
R120: Cast off with stretchy cast off: *K2 together through the back of the loop, slip st back on to left needle* and repeat from * to *, until all sts are cast off.
Thumb: Begining on inside of palm, pick up 18 sts along thumb-hole on 3 needles, 6 sts per needle.
K 3 rounds
1st decrease on R4: K1, K2tg, K until 3 sts remain on N3, K2tog through the back of the loops (a left-leaning decrease that I prefer to SSK, though you could SSK here, if you prefer), K1.
K 2 rounds
2nd decrease on R7: K1, K2tg, K until 3 sts remain on N3, K2tog through the back of the loops (a left-leaning decrease that I prefer to SSK, though you could SSK here, if you prefer), K1.
Begin 5 rounds of garter sts, starting with Purling.
R8: P
R9: K
R10: P
R11: K
R12: P
R13: Cast off all sts with the stretchy cast-off above. Weave in ends (there are a lot of them!)
Please write to me with any questions!

Aren't those adorable? Thank you so much for sharing the pattern!
LikeLike
Love those mitts! than you for sharing your pattern
LikeLike
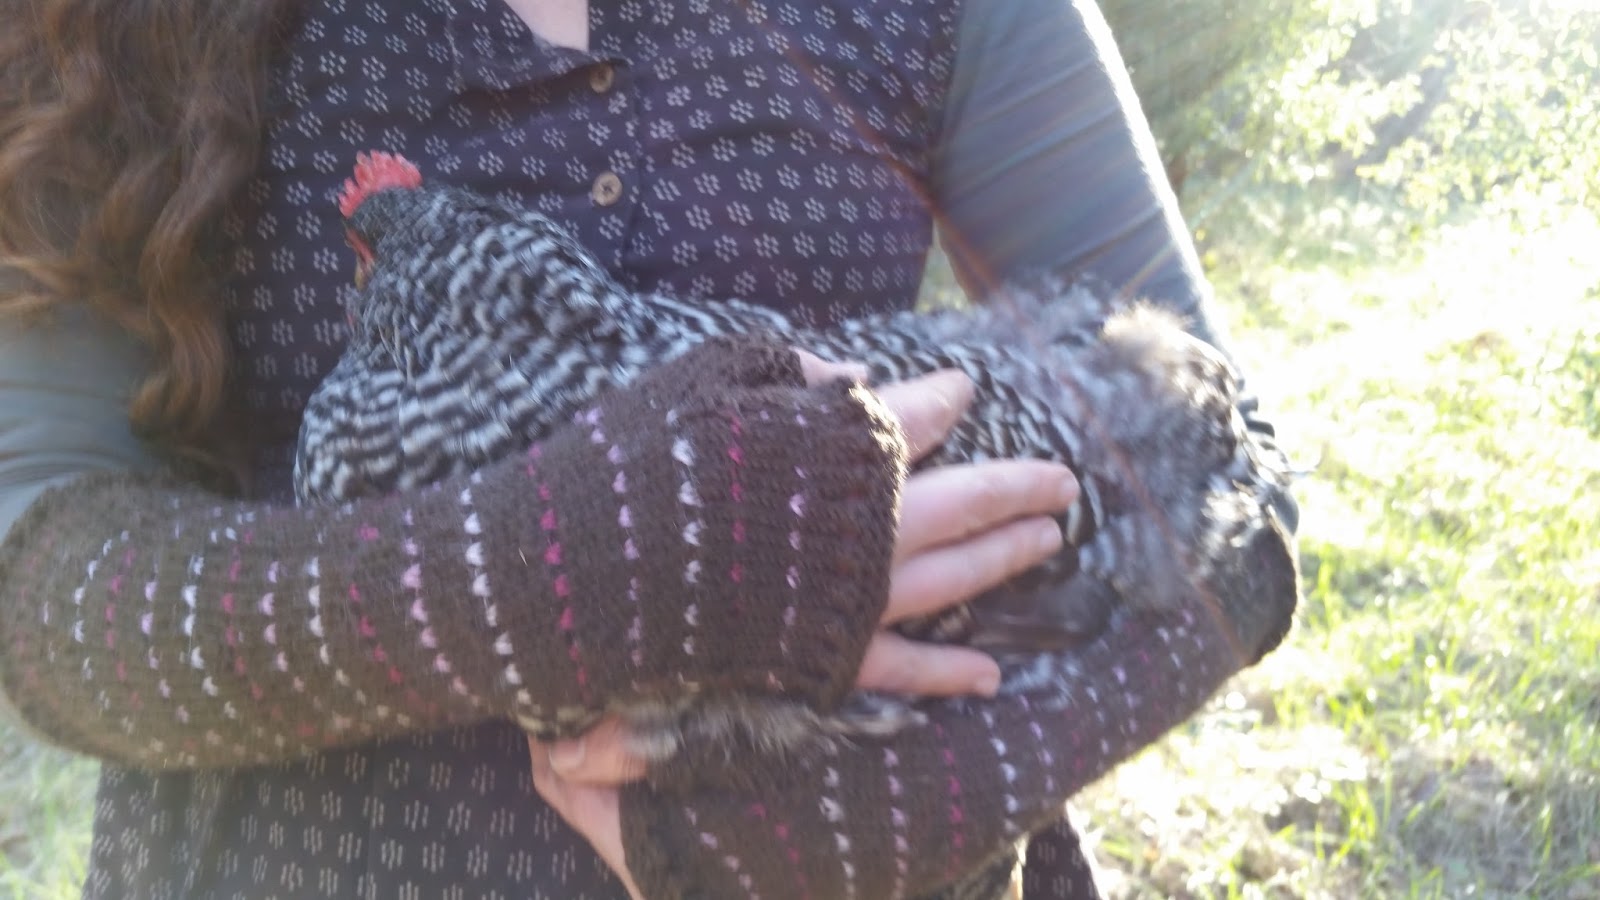
Love the mitts and especially those amazing pictures with your gorgeous chicken too!
LikeLike
Beautiful mitts. Thank you for the pattern!!!
LikeLike
Thanks for the kind comments, everyone! If anyone does knit these up, let me know how they turn out!
LikeLike
Pretty mitts. ♥ We had a beautiful barred rock like her who passed away last year.
LikeLike
Since I have such cold hands, I wear mitts all winter long and love how they give me the ability to go about doing things, inside or out. I absolutely love the length of your mitts, and I hope to make a pair in the future. How kind you are to give the pattern. Your photo is wonderful.
LikeLike
Sorry to hear! I love the barred rocks – they are such intelligent, hardy chickens. We tried the Americaunas for their pretty eggs last time we ordered chicks, but they were such a pain! Their eggs were gorgeous, but they were so silly and were mean to the other chickens. Thanks for writing!
LikeLike
Thank you! Let me know how they turn out!
LikeLike